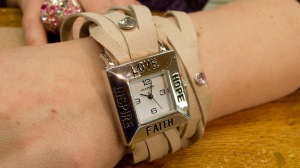
Fashion watch wraps are super popular and look great on! With these DIY instructions you can have a twist on the regular wrap bracelet and add strands of leather lace look!
What you will need
- Approximately 36″ of soft, thin, pliable leather
- Cutting surface (rubber mat)
- Rotary cutter or box blade
- Ruler (yard stick works best)
- Scissors
- Watch face (make sure leather will slide through sides)
- Snaps & Setter
- Crystal Rivets & Setter (if desired, other adornments like spots will work too)
- Spray Adhesive
To begin take your leather and roughly measure how much is needed to go around your wrist three times. Give yourself extra, you can always make it shorter! Take your yard stick and straight edge your leather on both sides. Your width should depend upon how wide your watch face is. If you make it wider than the face there is a chance it won’t lay correctly on your wrist.
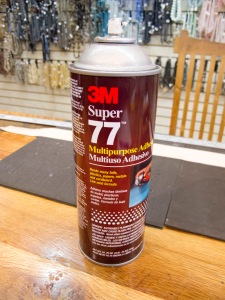
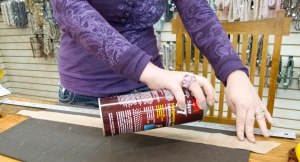
Next take your adhesive spray, for this we are using 3m Adhesive Spray. Spray the back of your leather and place on cutting surface. This will allow straight cuts to be made without your leather stretching or sliding around.
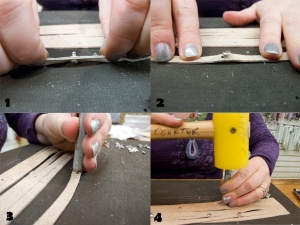
After you have glued your leather to the cutting surface you will then begin to measure where your cuts will be. We measured our cuts every 1/4″. You can always make them bigger or smaller depending on how small you want the strand of leather to be. Just keep in mind the smaller you go the more difficult it is to cut straight. Leave a good inch or two at the end, this is where you will apply your snaps.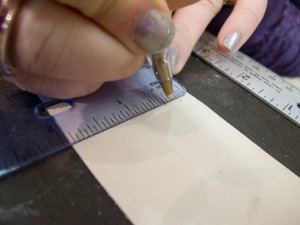 After marking off both ends of your leather take your yard stick and line up marks on both ends. Holding your yard stick down firmly take your rotary cutter, or whatever blade you may have, and cut from one end to the other stopping at the mark. *Make sure your blade is sharp for easy smooth cutting*
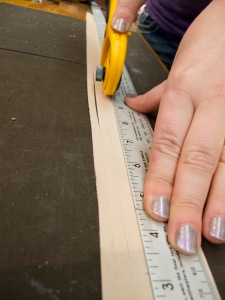
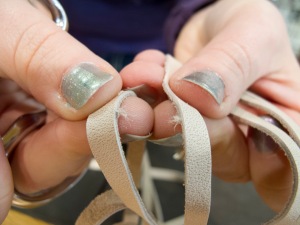
When you have finished cutting all your strips, peel the leather off of the rubber mat. You may have areas where the leather is still attached to itself, do not pull these apart! Take your scissors and cut along the edge, pulling apart will leave edges “fuzzy” from the fibers within the leather.
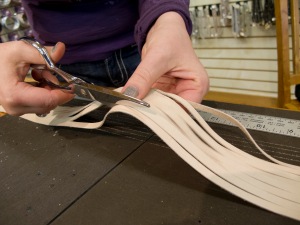 Trim the ends of your bracelet to your liking. When you have finished this you can lay your watch face on top of your bracelet allowing you to see where to place your adornments. For this we chose crystal rivets. Take your hole punch and punch holes where you want them.
 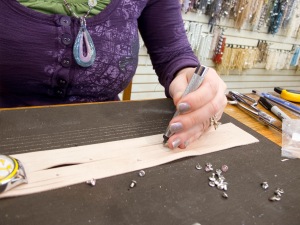 After you have punched your holes take your crystal rivet, crystal side down, and place post through leather putting the cap on and snapping it down. Taking your setter, put the domed end on the cap and give it a few taps!
  Almost there!! Lastly we need to insert snaps!
(Note: If your watch face will not fit over the snaps you may want to slide it on before attaching the snaps)
Punch a hole in each end of your leather. Since the leather that we used is thinner most snaps will have a post that is too long and will bend over when being set. To fix this problem you can insert a small piece of your leftover leather and create a bumper to allow the snap to set properly. When placing your snaps on the leather make sure that they will match up when you fold over your bracelet and snap properly without a twist in your leather. Set snaps by tapping the center post down on each end, don’t hit them too hard or you will go through them. A few light taps should do the trick! 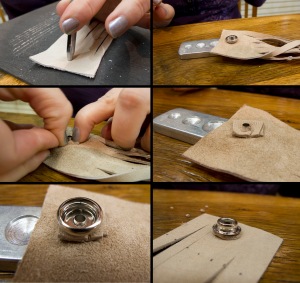 Place your watch face on the leather, slide it into place and KAPOW! Your finished!!